
Your Cart is Empty
Hey! It's Daniel from Hyke & Byke.
I wanted to touch base with something that most of us hikers have experienced several times in our lives; the painfully annoying and inconvenient case of blisters.
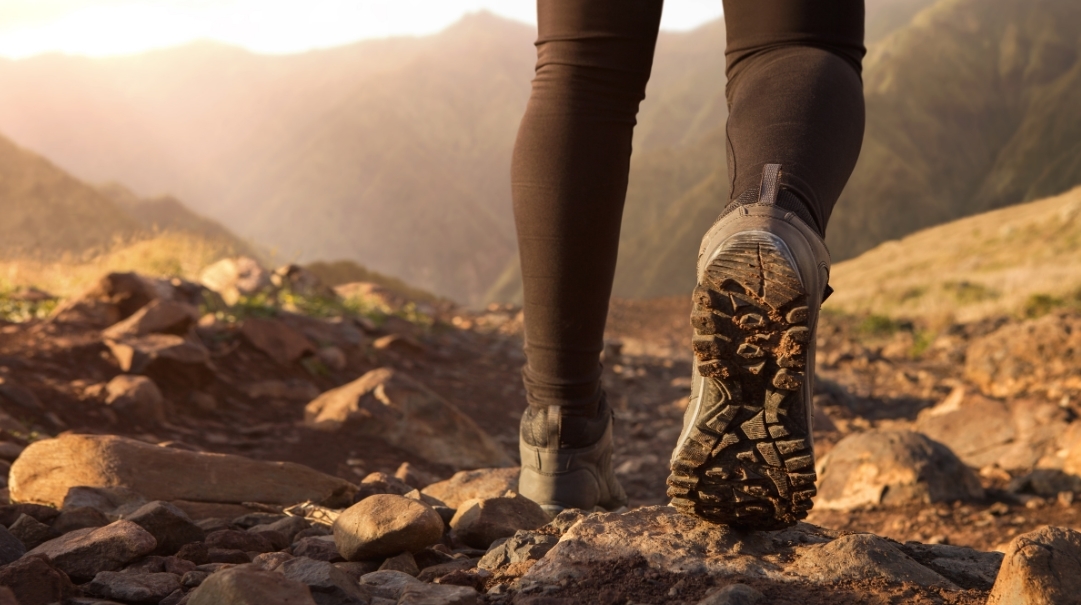
Hiking is tantamount to hours of walking. You walk and walk for hours on rough and sometimes rocky trails. With hours of treading the trails can be hard on the only two feet that you have. If you do not take care of them, you all know what your feet are going to end up with: blisters...
Blisters are one of the common injuries to hikers. A blister is a small pocket of body fluid (lymph, serum, plasma, blood, or pus) within the superficial layers of the skin, more usually caused by friction.
The fluid inside a blister acts as a defense and heals the damaged tissue. Red fluid found in a blister simply means that the small capillaries in the area of the blister have also been damaged.
1. Pressure: Tight footwear can create a pressure point and lead to blisters when rubbing against your skin.
2.Heat: Hot weather and a long, continuous stretch of hiking can turn up the temperature inside your boots. Any place where your boot is slipping terribly will also create heat as it rubs.
3. Moisture: Moister skin is softer skin, which is more vulnerable to damage.
Indeed, an ounce of prevention is worth a pound of cure. Knowing how to prevent blisters will save you a day’s worth of pain and inconvenience. Once you know the factors that up your odds of getting blisters, your goal is to check and reduce those factors.
Here are some tips:
1. Proper Shoe Fit and Break-in
To prevent pressure points, slipping or both, the foundation of blister prevention is getting the right size of your footwear.
Also, you should go on some short hikes to break in your new footwear. If you get a poor fitting boot then other problems also tend to happen. (Scroll to the end...)
2. Early Hot-Spot Detection
Observe how your feet feel when you hike. The moment you detect an uncomfortable spot, stop and take your boots and socks off.
If the area is even slightly red, then dry it off and apply your preferred form of protection:
Avoid cotton: It retains moisture; go with wool instead.
Excellent fit: Too loose and you can have wrinkles; too snug and you can create pressure points and sock slippage.
Liner socks: In addition to wicking away moisture, thin inner socks add a protective layer between skin and your primary hiking socks.
Extra socks: Changing to dry socks gets your feet back to the same low moisture level you had at the beginning of your hike. They can also come in handy if your socks get soaked during a stream crossing.
Darn, I still got one. When worse comes to worst and that hot spot develops into a full-blown blister, here is a remedy:
Molefoam with a Doughnut Hole
Cut a hole the size of the blister; then the surrounding foam should keep your sock from rubbing and further grating the area.
Pads and Gels
Both are designed to add a protective layer to prevent a blister from getting worse. Pads also provide cushioning; gels soothe the area by cooling it off and preventing any further friction and heat.
Draining
Resist from pricking the blister to release the fluid: You’re making yourself vulnerable to infection and you’re removing the protection and healing that the serum provides.
If you have a large blister that’s too painful to leave alone, then follow the steps below:
1. Sterilize your needle with alcohol or heat.
2. Insert the needle near the base of the blister.
3 Dress the blister like you would a wound, using antibiotic ointment and gauze or a Band-Aid.
4. Cut and place Molefoam with a doughnut hole around the area to prevent further irritation; for added protection, add a layer of tape over the top.
-------------
There you have it, everything you need to know about blisters and how to prevent them. Have a happy (and hopefully blister-free!) hike on your next adventure!
Watch your "footing" :)
Daniel E. | Founder
Hyke & Byke #GearThatGives

Comments will be approved before showing up.

